Detail
- Navigate to Configuration -> Escalation Policies
- Click an existing Escalation Policy to view its details

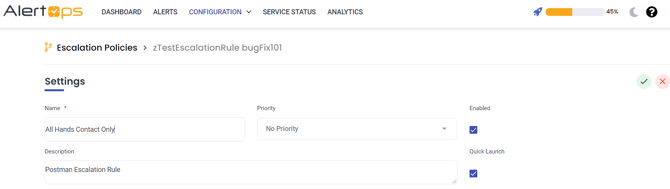
- Click Update to edit the Escalation Policy Name, Description, and Priority
- Enable and disable the Escalation Policy
- View which integrations and workflows are using the Escalation Policy
Escalations
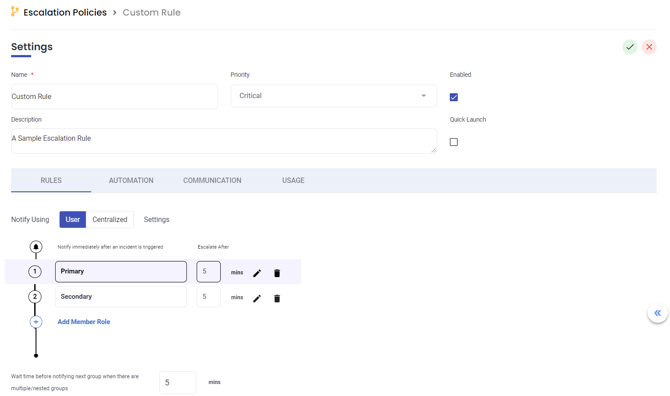
Change the notification settings to User or Centralized preference.
The Centralized preference notification setting escalates the alerts by escalation policies. Edit the member roles and wait times between notifications by clicking the edit button. Define which contact types are to be used for each role.
Wait Time Between Members
At the top of the configuration, set the interval in minutes after each member before escalating to the following sequence.
Number of Retries
Define the number of retries for each member before moving on to the next member in the sequence.
Retry Interval
Set the interval in minutes after each alert
Contact Sequence
Set the sequence of contact methods in the Escalation Policy by clicking the up and down arrows under Contact Type.
- The user preference notification setting escalates alerts by contact methods and escalation policies determined by each user.
Group Contact Notifications
User can send notifications to Group Contacts, such as a Slack Channel, or a HipChat Room, or simply a regular email, phone or SMS address. User can also control the time interval between each contact types.
When using intervals for Group Contacts, the contacts will be delivered in the order of the Group Contact Sequence. This sequence created on the Group & Schedule Management page.
Workflows
Add Message Workflows to the Escalation Policy to enable message-level actions and escalations.
Recipients
Add recipients to Escalation Policy
Services
Add outbound services to Escalation Policy
Outbound Actions
Trigger calls to systems on demand, such as creating a ticket in help desk or even restarting a system.
Message Options
The assignment is the key event in AlertOps. Alerts are assigned to no one initially. A user can take assignment of an alert or assign the alert to another.
When a user takes the assignment of an alert in the mobile app or web app, the alert is automatically acknowledged.
The Acknowledgement in AlertOps means the user has acknowledged receiving the alert, not that the user has taken ownership (assignment).
AlertOps can measure Mean Time to Acknowledge (MTTA), so for that reason, user can enable acknowledgement actions on the various communication channels. User can also configure which channels allow assignment actions.
Communication Channel Settings control certain aspects of the channel, such as which alert text is used (Long Message Text or Short Message Text).
The AlertOps support team manages communication Channel Settings.
Others
Select a message and thread template and manage message text and other options.
Escalation Policy for Reply
User can specify which to be used for replies to alerts.
Message Template
Use the Standard Message Template or specify a custom Message Template
Thread Template
The Thread Template is the main alert template. User can use the Standard Alert Template or use a custom alert template, along with custom fields
Priority and SLA
- Select the Priority Level and use the global SLA setting for the Priority (Critical, High, Medium, Low, None)
- User can override the SLA