Overview
Relevant for App Admins and Integrations Admins
In most cases an Inbound Integration completes a simple task — data is sent to the endpoint, when a condition is matched an alert is generated, and the designated team is notified. For organisations with more complex routing, a single Integration is not enough.
Configuring multiple endpoints in the source system is not a good answer — it creates too many opportunities for routing errors and makes troubleshooting harder. AlertOps' approach: configure a single endpoint in the originating system, then process the inbound data through multiple integrations on the AlertOps side. Each integration in the sequence can send to different teams, apply different Escalation Policies, and use different notification behaviour.
Two elements make this work: Integration Sequence (an integer that orders integrations against the same endpoint) and Cloning (duplicates an existing integration into a new sequence position).
The Sequence Column on the Inbound Integrations List
Relevant for Anyone reviewing routing on a tenant
The Inbound Integrations list has a Sequence column. Every non-cloned integration defaults to Sequence 0. When you clone an integration, the clone is created with a higher sequence value, which is how AlertOps decides which integration in the chain processes a given event first.
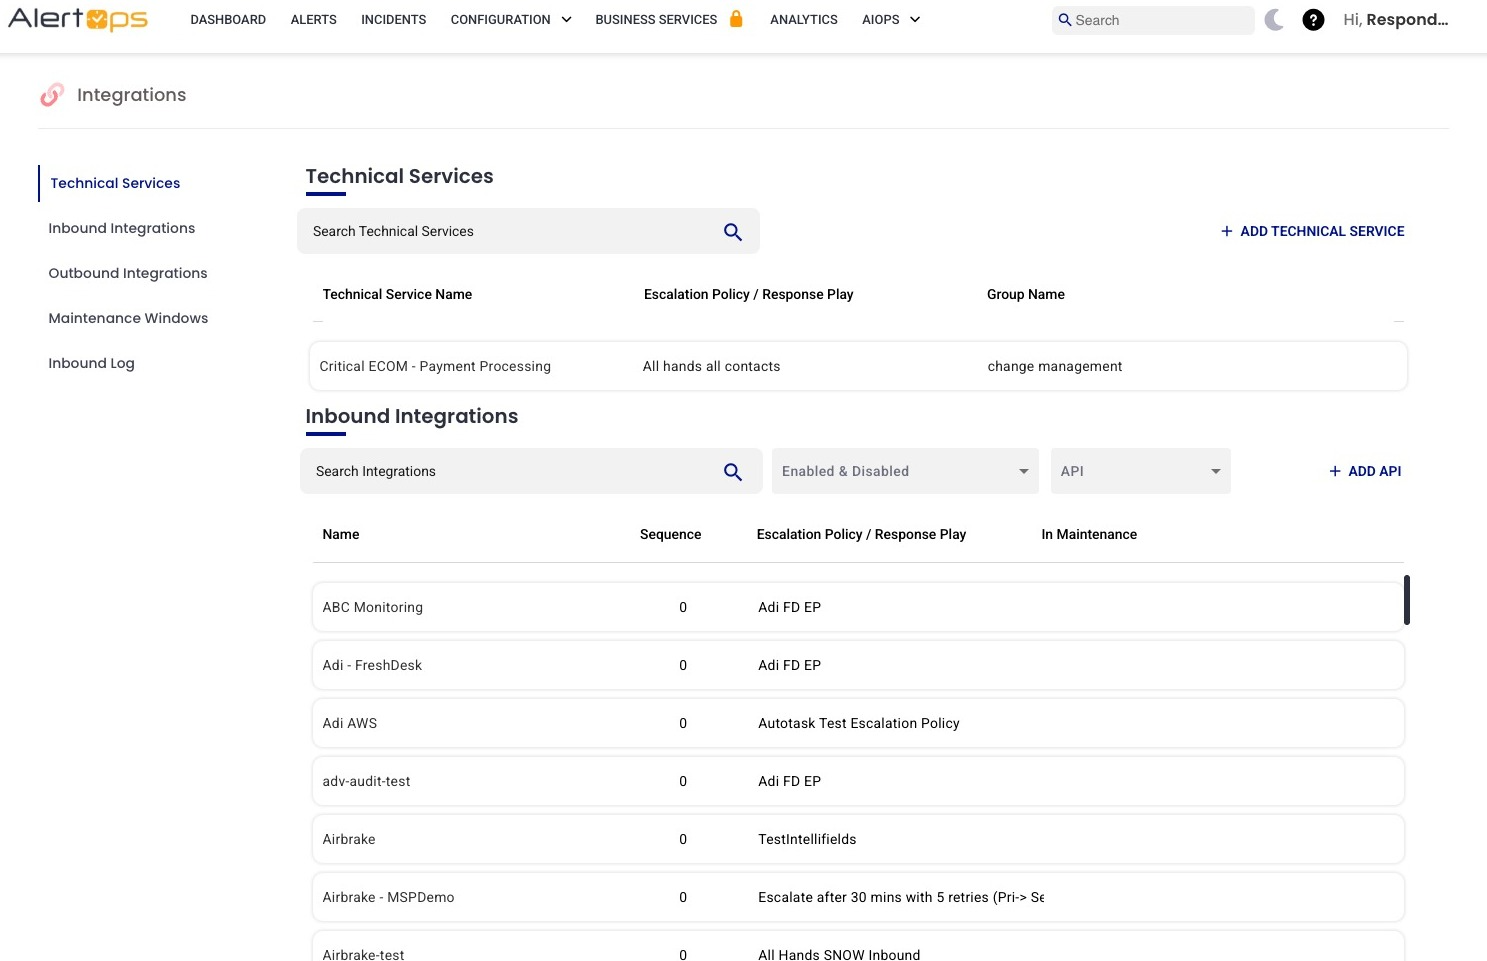
Figure 1. The Inbound Integrations list. The Sequence column shows 0 for every non-cloned integration. The column header is simply "Sequence" — not "Integration Sequence" (that's the detail-page label).
|
Sequence behaviour observed in audit Sequence default for non-cloned integrations is 0. Sequence is not sortable from the column header (clicking the header does not reorder rows). Sequence can be edited directly on the integration's EDIT page — it's a single-select dropdown with integer options starting at 0; values are not restricted to ±1 from the current value (audit confirmed jumping from 1 directly to 5 with no validation error). |
Clone an Integration
Relevant for App Admin / Integrations Admin
Cloning produces an exact copy of an Integration, including the endpoint URL, field mapping, and filters. The clone differs from the source in one significant way: the Integration Sequence is incremented (a source at Sequence 0 produces a clone at Sequence 1).
Step 1 — Open the source integration
- Navigate to Configurations → Integrations → Inbound Integrations.
- Select API (or the relevant channel type) from the drop-down on the right.
- Click into the integration you want to clone.
Step 2 — Click CLONE
In the Basic Settings header on the top right, three actions sit alongside each other: DELETE (trash icon), CLONE (clipboard / copy icon), EDIT (pencil icon). Click CLONE.
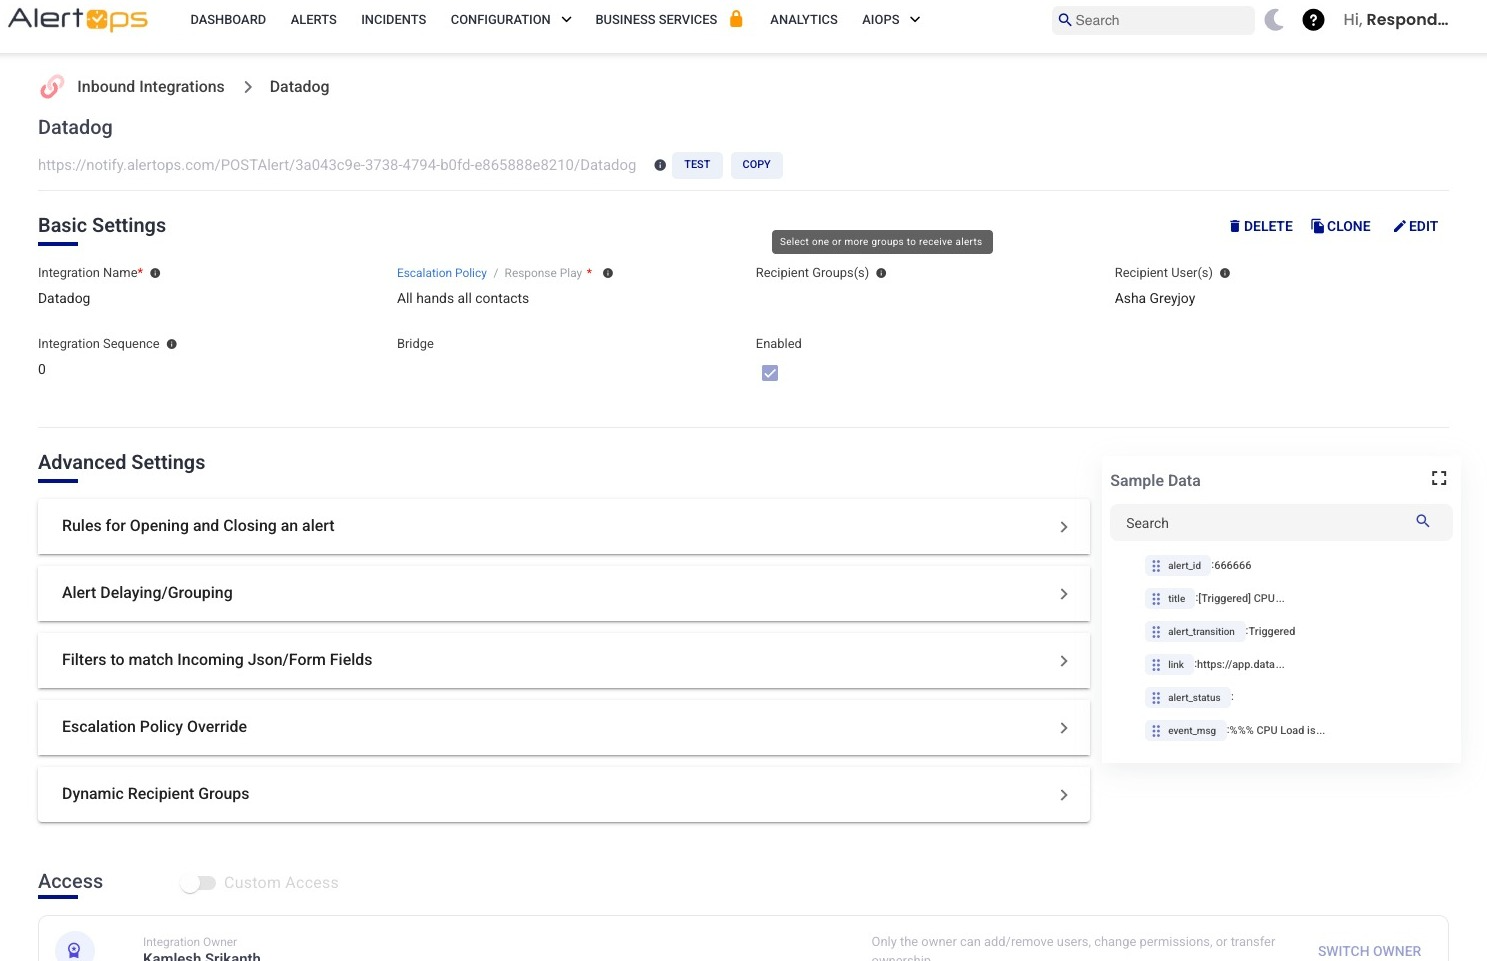
Figure 2. The CLONE button sits between DELETE and EDIT in the Basic Settings header. Hover tooltip reads "Clone."
Step 3 — Name the clone in the Clone modal
A modal titled "Clone Inbound Integration" opens with a required Integration Name field (placeholder "Enter Integration Name"), plus Cancel and Submit buttons. AlertOps does NOT auto-name the clone — you must supply a unique name. Enter the new name and click Submit. A green toast confirms creation.
Step 4 — Verify the clone on the detail page
After save, the URL changes to the clone's ID and the integration detail page loads (if the breadcrumb still shows the original name, refresh the page). The clone inherits everything from the source — including the endpoint URL — with one difference: Integration Sequence is incremented by 1.
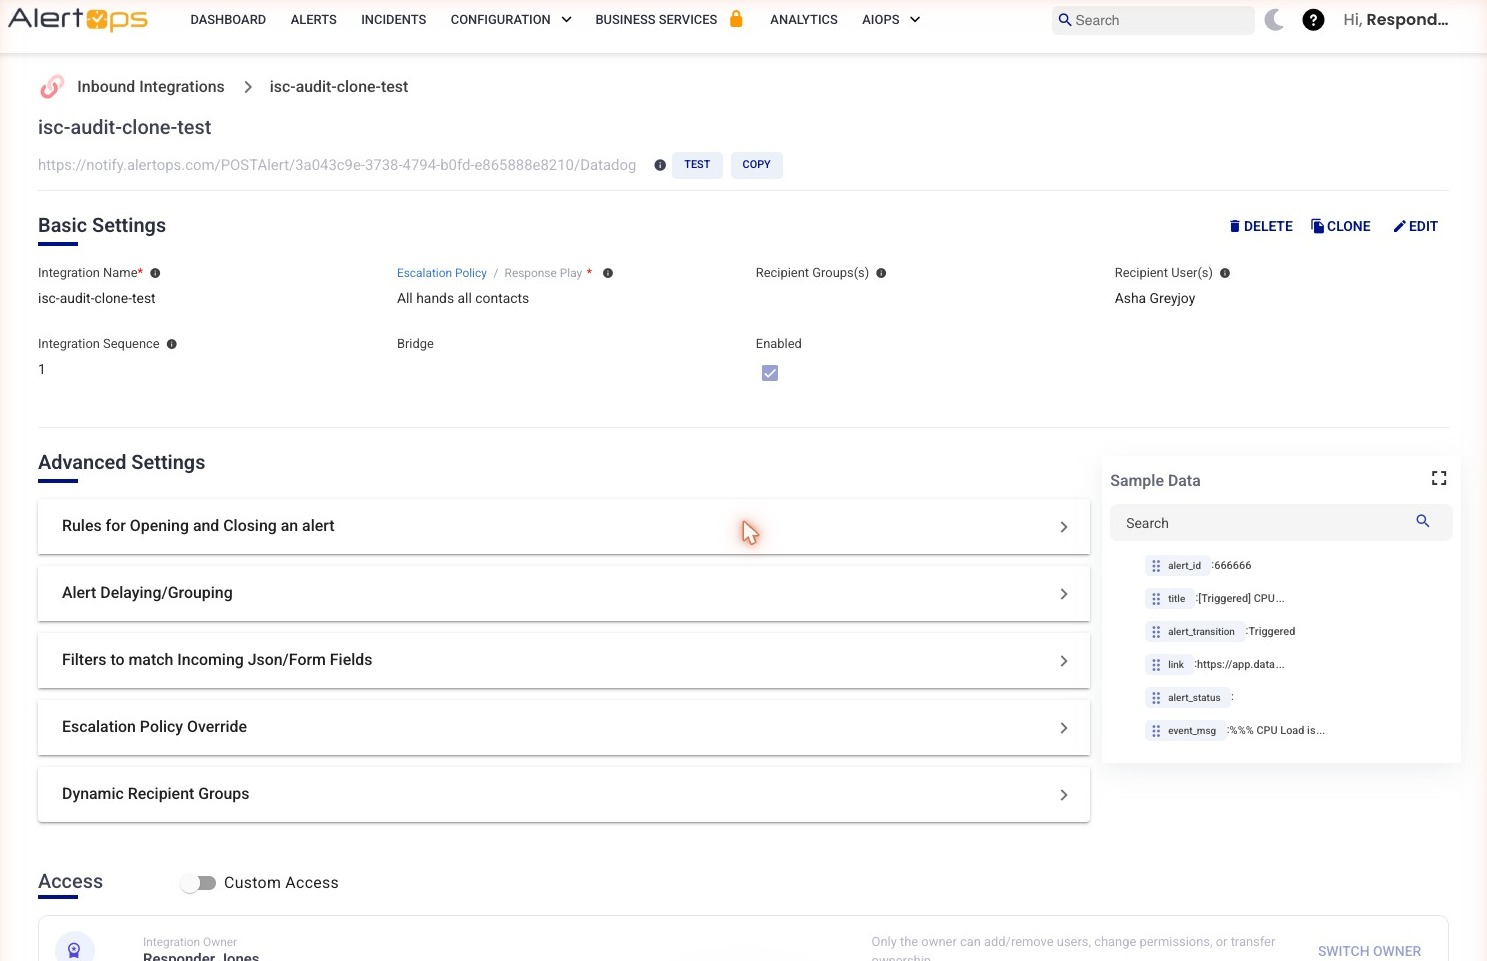
Figure 3. The clone's detail page. Endpoint URL is identical to the source (still ends in /Datadog because the clone inherited the source's Source value). Integration Sequence is now 1 (incremented from the source's 0). All Basic Settings fields are copied over.
Step 5 — Confirm both rows on the list
Return to the Inbound Integrations list. The source remains at Sequence 0; the clone appears at Sequence 1. Rows aren't visually grouped — they sort by name (or whatever sort is active).
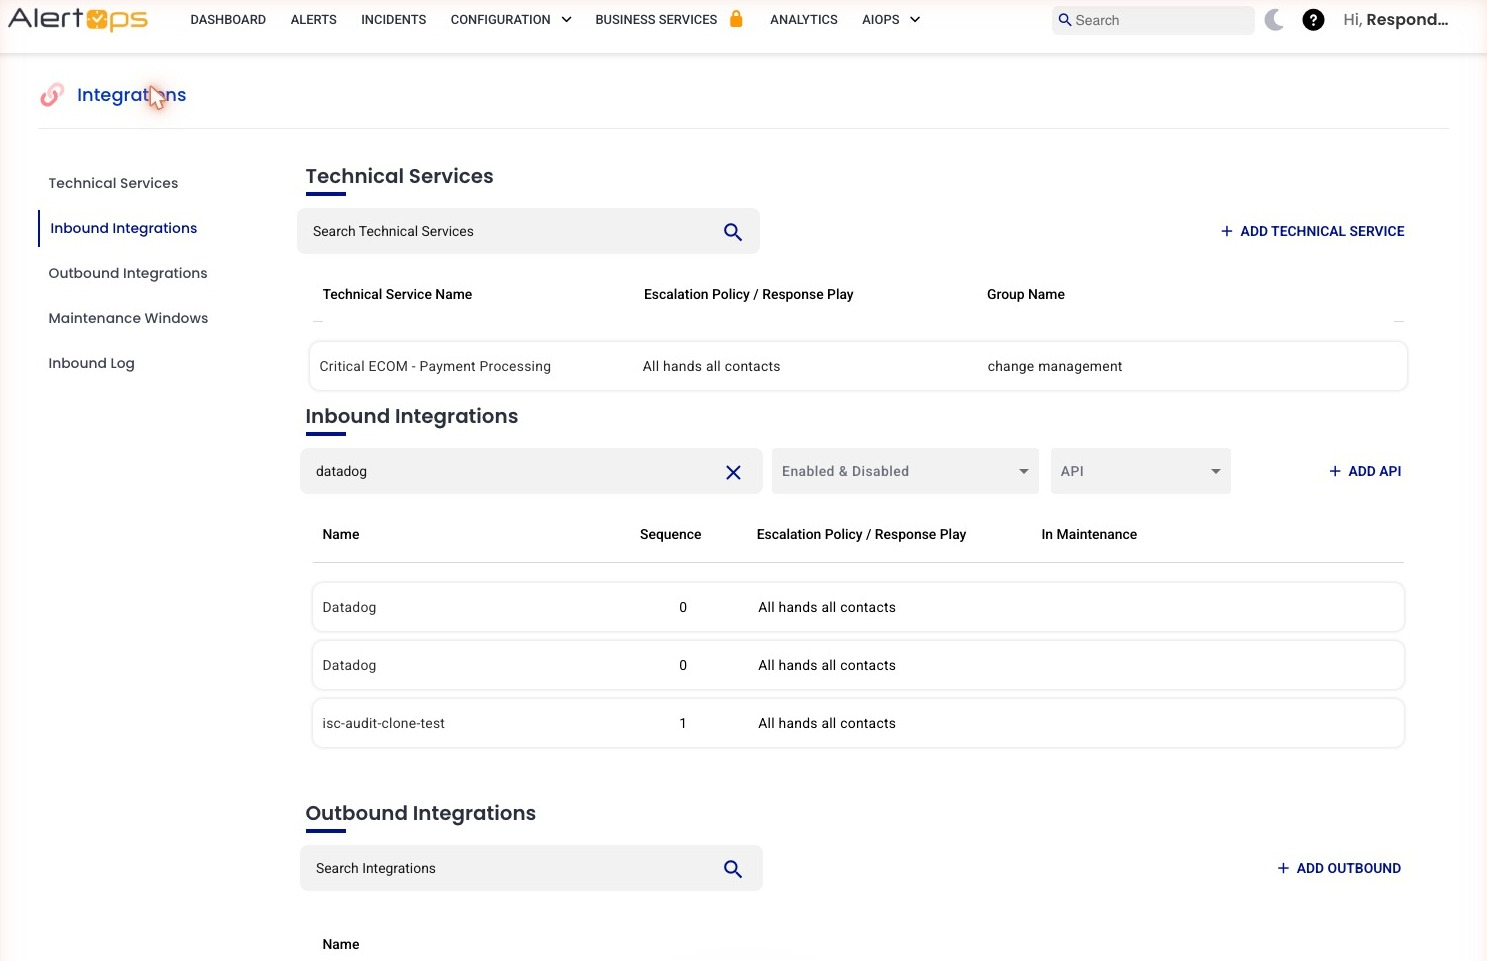
Figure 4. After cloning, the original Datadog rows remain at Sequence 0 and the clone shows Sequence 1. The clone sits alphabetically alongside the source's name — there's no clone-specific badge or grouping.
|
Clone modal copy After Submit, the success toast reads "Cloned Succesfully" — note the typo (missing one 's' in Successfully). Documentation team should flag this for the engineering team to fix on the toast itself. |
Add Filters to Differentiate the Clones
Relevant for App Admins routing payloads conditionally
Cloning alone does not produce a meaningful difference between integrations — without filters, the lower-sequence integration processes everything and the higher-sequence integrations never fire. Filters live on the clone's Advanced Settings drawer and decide which integration in the sequence actually opens an alert for a given payload.
Step 1 — Open Filters on the clone
- Open the clone's detail page.
- Scroll down to Advanced Settings.
- Expand Filters to match Incoming Json/Form Fields.
Step 2 — Add a Match All Filters row
Each filter row has: Field*, a Not checkbox, Type*, Value* (chip-based input — accepts values as removable chips), and an Action (green checkmark to save, red × to cancel). For routing on severity = critical, set Field = severity, Type = Is Any, Value = critical.
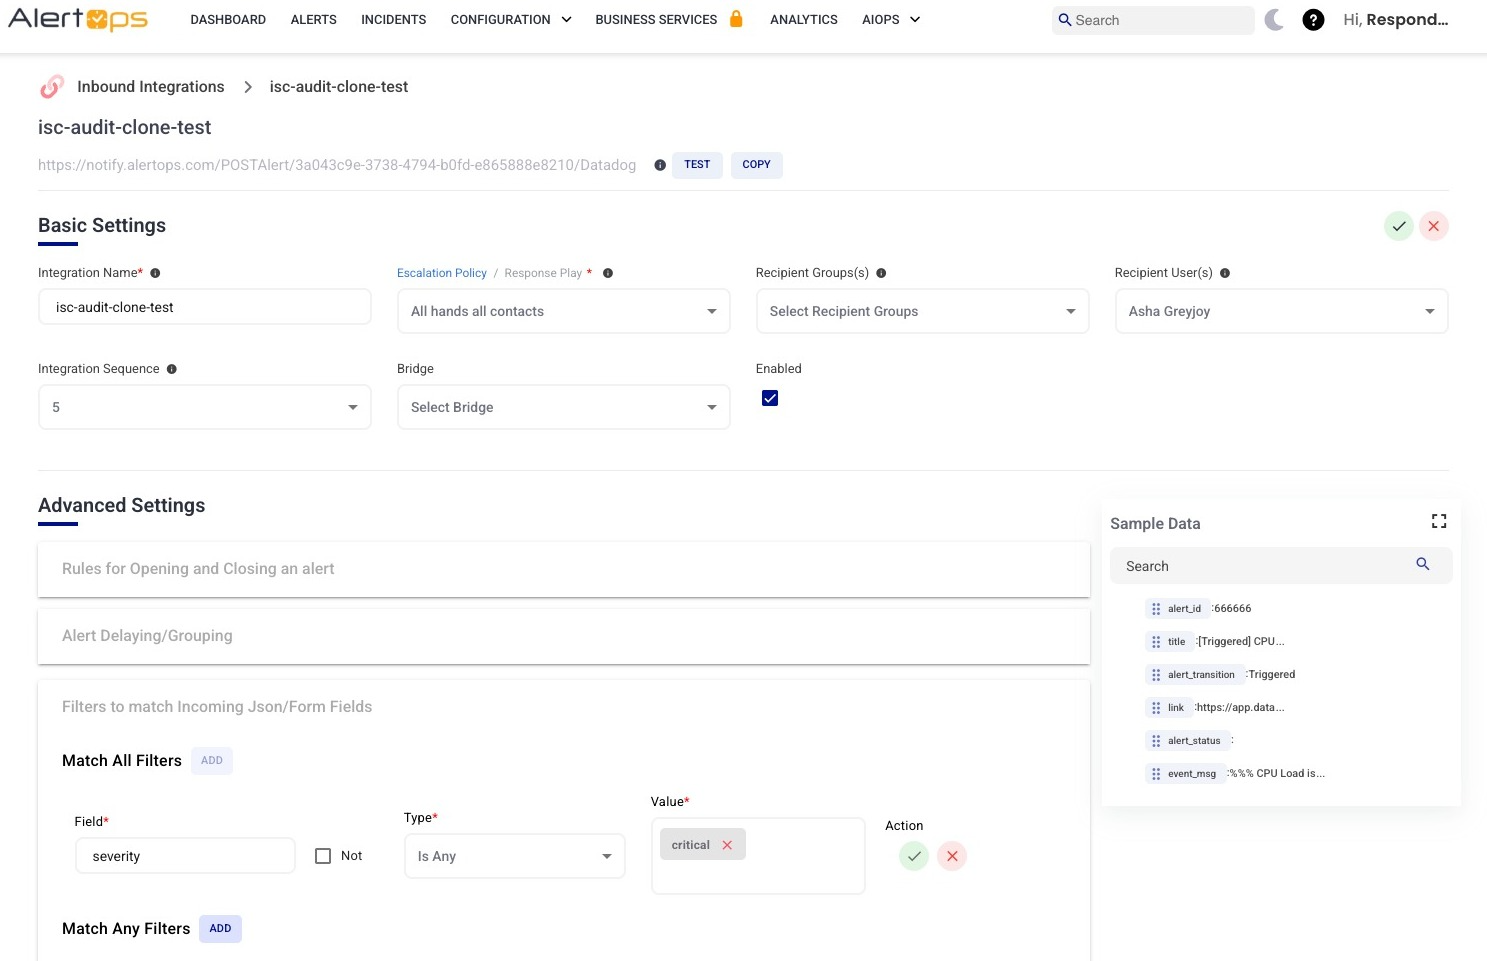
Figure 5. The Filters drawer expanded on a cloned integration. The Match All Filters section has a populated row (Field: severity, Type: Is Any, Value: critical) ready to save.
Filter Types — what's available where
|
Section |
Available Type options |
|
Match All Filters |
Is Any, Contains Any, MatchesRegex. (Confirmed in audit — these match what Article 32 documents.) |
|
Match Any Filters |
Contains, Is, MatchesRegex. (Confirmed in audit — different list than Match All.) |
How Match All and Match Any Combine
|
The two sections are joined by OR If both Match All Filters and Match Any Filters are configured on the same integration, the relationship between them is OR — the alert passes if EITHER every Match All condition is true OR any single Match Any condition matches. Concretely: pass = (every Match All row evaluates true) OR (at least one Match Any row evaluates true). The Match Any section is only evaluated when the Match All section is not satisfied; if Match All passes, the filter is done. |
Within a section, the behaviour is what the section name implies. Match All requires every row in that section to evaluate true. Match Any requires at least one row in that section to evaluate true.
How Sequence + Filters Decide Routing
Relevant for App Admins designing routing
When a payload arrives at the shared endpoint, AlertOps walks the integrations in Sequence order (0, 1, 2, …). For each integration in turn:
- Evaluate its filter set against the incoming payload.
- If the integration has no filters configured, it always passes and opens the alert.
- If filters are configured and pass (per the OR rule above), the integration opens the alert and processing stops.
- If filters fail, AlertOps moves to the next integration in the sequence.
Typically the most-specific conditions sit earliest in the sequence. An integration with no filters can sit at the end as a catch-all that fires when none of the earlier conditions matched.
Editing Integration Sequence Manually
Relevant for App Admins reordering integrations
Sequence is editable independently of cloning. To change the order:
- Open the integration's detail page.
- Click EDIT in the Basic Settings header.
- Integration Sequence renders as a single-select dropdown of integer values (0, 1, 2, … up to at least 6, scrollable).
- Pick the value you want. Audit confirmed jumps are allowed (1 → 5 worked with no validation error).
- Save the integration. The new Sequence value persists and the list updates.
There is no drag-reorder UI on the integrations list — reordering is done by editing the Sequence value on each integration's detail page.